Results 21 to 35 of 35
Thread: Image up-sizing
-
4th August 2016, 09:54 AM #21

- Join Date
- May 2011
- Location
- SE Michigan
- Posts
- 4,511
- Real Name
- wm c boyer
Re: Image up-sizing
-
6th August 2016, 12:05 AM #22
Re: Image up-sizing
I like Perfect Resize, which is a portion of the Perfect Photo Suite. Perfect Resize was once called Genuine Fractals and was a free standing resizing program.
With Perfect Resize, you can select the ultimate destination (what type print etc. you want).
-
7th August 2016, 03:07 PM #23
Re: Image up-sizing
Perfect Resize no longer has any advantage over the resizing algorithms in Photoshop.
I bought OnOne years ago when Photoshop was pretty bad (that was before CS5), but Adobe rewrote their algorithms and seem to have applied a similar technology to what Perfect Resize does. I did a lot of testing and see no difference in quality between the output of these two products, so I did not upgrade the OnOne suite because that was really the only filter I was using.
-
7th August 2016, 06:57 PM #24

- Join Date
- May 2011
- Location
- SE Michigan
- Posts
- 4,511
- Real Name
- wm c boyer
Re: Image up-sizing
Some have suggested to allow the metal print producer to do their own upsizing...what say you all?
-
7th August 2016, 07:25 PM #25
Re: Image up-sizing
I prefer delivering my images to the printer the way that I want them. That means all my sharpening, upsizing, colour management, print profiling (based on the printer supplied data), etc. is 100% finalized.
Unless you have an ongoing working relationship with the printer, why would you take a chance as to how they will handle your image?
-
14th August 2016, 11:49 AM #26
Re: Image up-sizing
Here's a little example of how I do things if I need an upsized image.
First if you are going to upsize anything I would suggest you export from your original RAW file in Lightroom before you do any work on an image. This is the part where you should do any upsizing and not later in Photoshop.
My original NEF file for the examples below was shot on a Nikon D3x. The original image size out of camera is 6048 x 4032 or 24,4 Megapixels.
So I took this file and exported in 3 ways from Lightroom
EXPORT 1: (in the LR export options screen)
File Settings > TIFF + AdobeRGB + Compression None + Bit Depth 16 Bit
Image Resizing > Resize to fit "Megapixels" 12 + Resolution 600 Pixels per Inch
EXPORT 2: (in the LR export options screen)
File Settings > TIFF + AdobeRGB + Compression None + Bit Depth 16 Bit
Image Resizing > Resize to fit "Megapixels" 24 + Resolution 600 Pixels per Inch
EXPORT 1: (in the LR export options screen)
File Settings > TIFF + AdobeRGB + Compression None + Bit Depth 16 Bit
Image Resizing > Resize to fit "Megapixels" 48 + Resolution 600 Pixels per Inch
This creates the following 3 files for me:
12MP.tiff > 4242 × 2828 > 72Mb File Size
24MP.tiff > 5999 × 3999 > 144MB File Size
48MP.tiff > 8485 × 5657 > 288Mb File Size
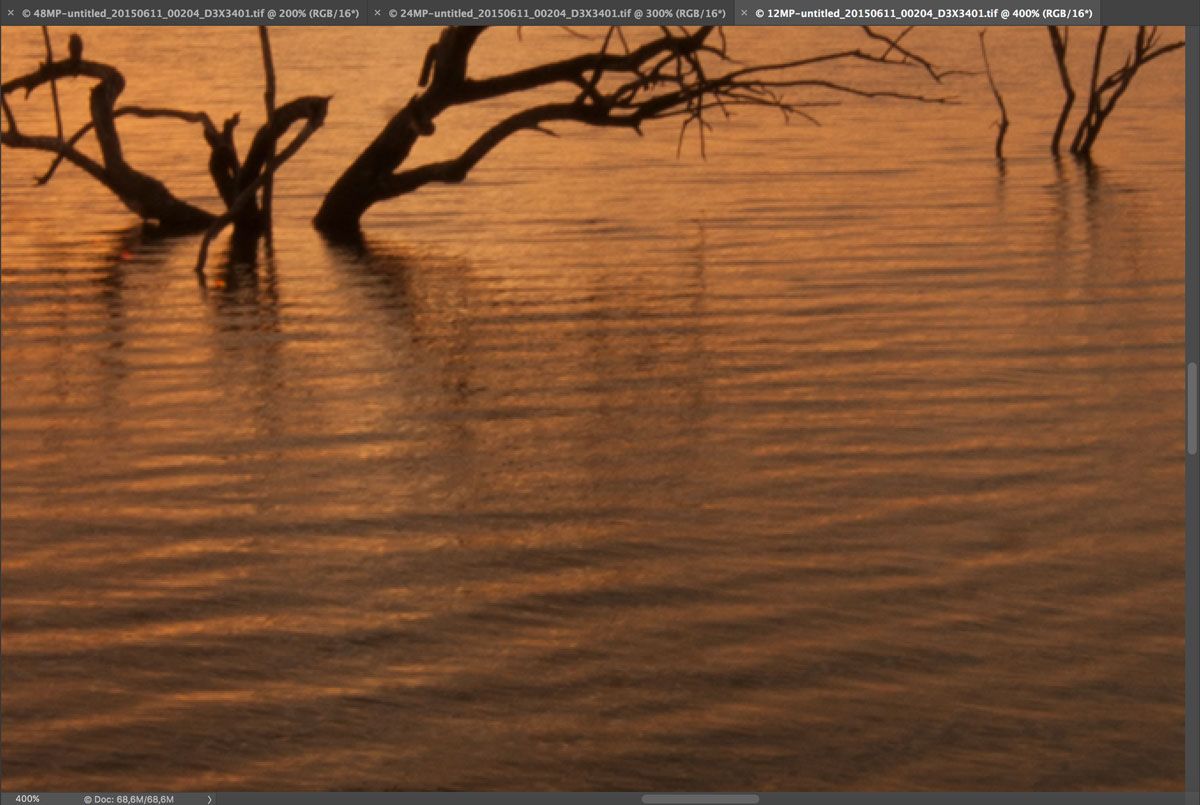
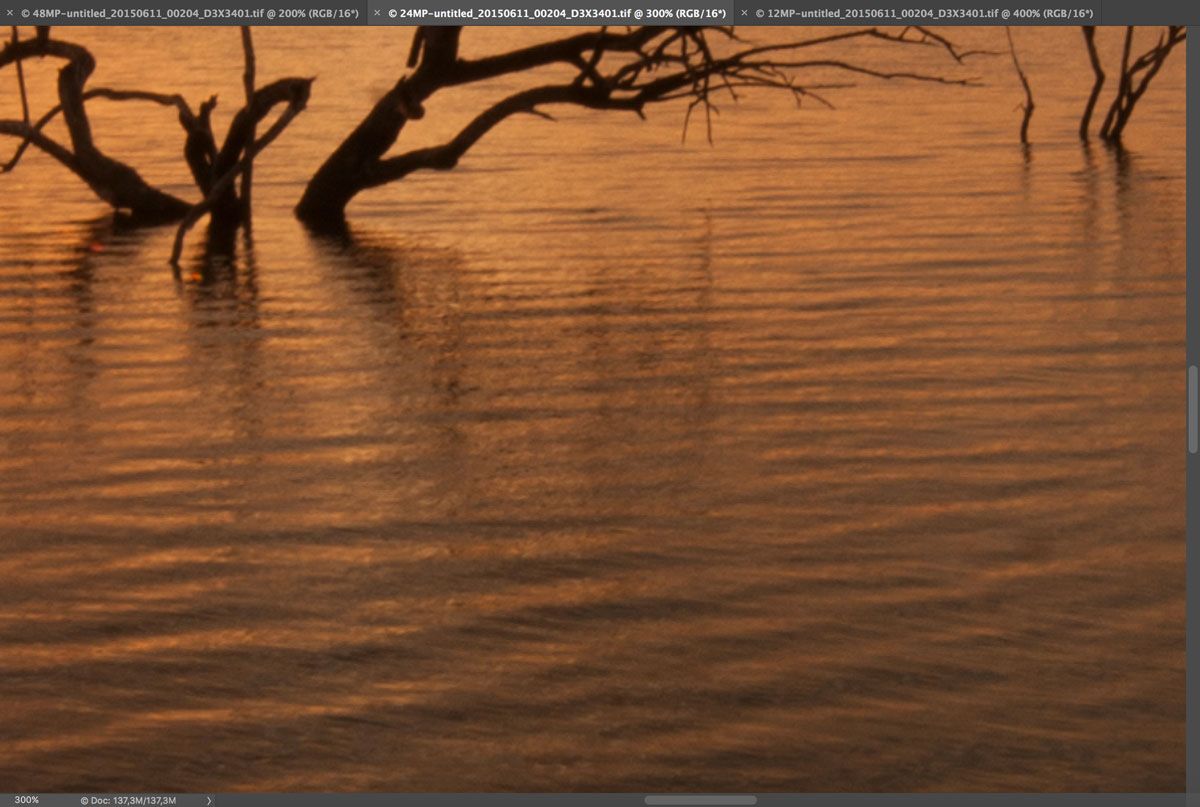
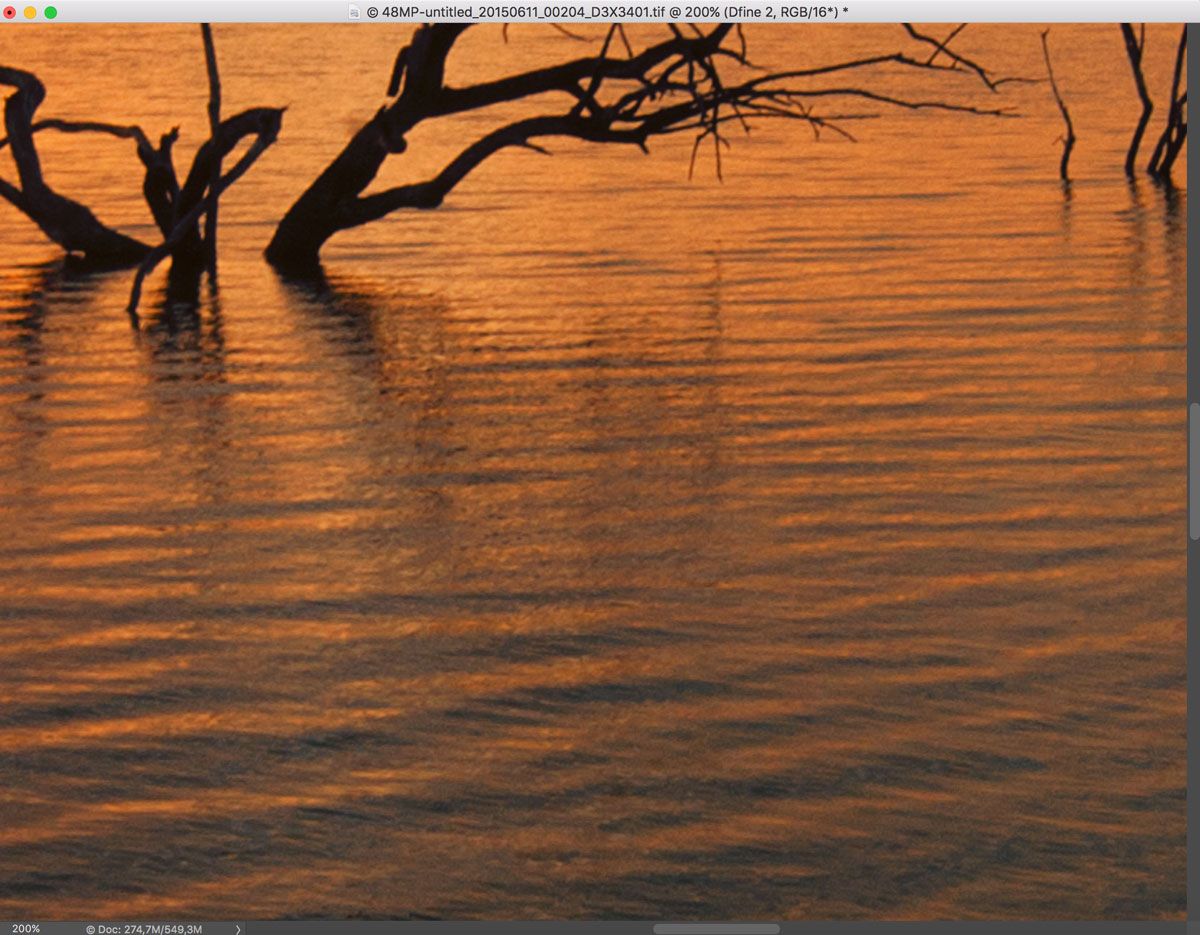
Here is all 3 at similar zoom levels to show detail (all unedited and straight out of camera and please excuse all the dust spots)
12MP file at 400% zoom

24MP file at 300% zoom

48MP File at 200% zoom

After some post processing the final JPEG I produced from working with 48MP TIFF File was a 48MP JPEG (8485 × 5657) with a JPG File Size for Print of 27.3MB.
Here's a 200% zoom into the post edited 48 Megapixel Tiff File.

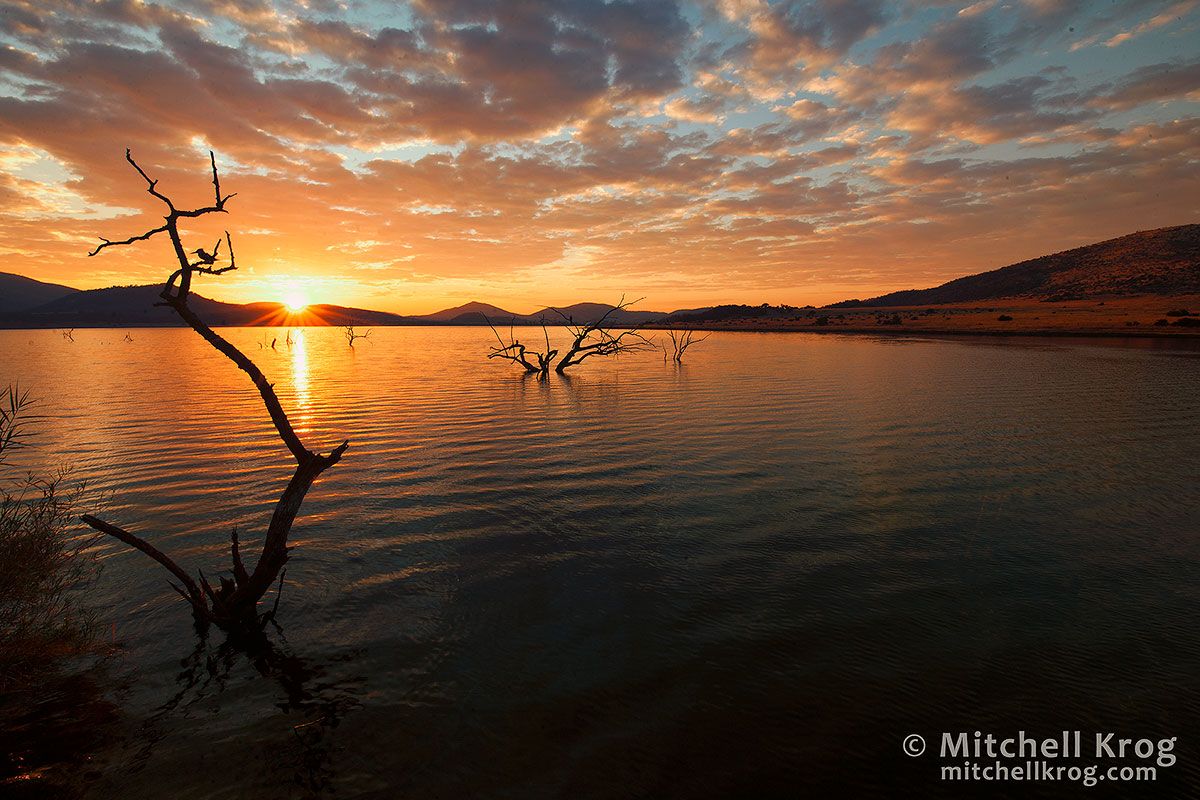
and here's the 1200px web ready version exported from the same 48 Megapixel file.

As you can see, your main export process is crucial and not upsizing later in Photoshop. Hope that helps you.
Regards
Mitchell
-
15th August 2016, 02:14 AM #27
Re: Image up-sizing
Mitchell - this is definitely the strangest upsizing approach I have ever seen.
I see no underlying logic in the workflow. Every time there is an interpolation that increases the size, there will be some degree of interpolation. Every time we see some interpolation, there will be some loss of quality that we see as "softening".
-
15th August 2016, 07:38 AM #28
Re: Image up-sizing
 I am rather strange, you will probably learn that in time
  I have found this personally to produce a very nice size file with little to no softening to begin editing with. My experience with upsizing later in Photoshop does not produce as clean an image. I always try different methods and break rules often to see what the outcome will be. Not saying my approach is correct but I have found Lightroom's export functionality to be very underestimated but it's the same algorithms they use in Photoshop.
-
15th August 2016, 01:59 PM #29
Re: Image up-sizing
Interesting to note that no one has suggested that perhaps the image quality at the outset is "too soft," because of lens or camera quality. All the upsizing workflow in the world won't fix "soft" out of the camera and Manfred is correct - each time there is a change to the interpolation of the image, there is degradation to that image. I input sharpen modestly (NIK) and I sharpen ever so slightly for print quality and a bit more aggressively for internet jpegs (Kuyper's web sharpening).
This goes also hand in hand with another thread as to "what you see on the screen, is it what you get?" Maybe I'm just a slog when it comes to all this stuff but my mantra has always been, "if you can't see it from a passing pony," it isn't worth worrying over, at least not on the internet, anyway.
-
16th August 2016, 01:21 AM #30
-
16th August 2016, 09:53 AM #31

- Join Date
- May 2011
- Location
- SE Michigan
- Posts
- 4,511
- Real Name
- wm c boyer
Re: Image up-sizing
Interesting to note that no one has suggested that perhaps the image quality at the outset is "too soft," because of lens or camera qualityI've got numerous 22 MP (12.5 x 18.75) images that are stellar @ 200% magnification...
-
16th August 2016, 07:51 PM #32

- Join Date
- Feb 2012
- Location
- Texas
- Posts
- 6,956
- Real Name
- Ted
Re: Image up-sizing
Huh?
-
16th August 2016, 08:04 PM #33

- Join Date
- May 2011
- Location
- SE Michigan
- Posts
- 4,511
- Real Name
- wm c boyer
Re: Image up-sizing
Was merely indicating that soft images were not part of my question.
-
3rd September 2016, 04:05 PM #34
Re: Image up-sizing
I had a quick play at doubling the size of the crop. It looks to me like noise in the leaves is still in the shot. I've used the software before and that usually isn't a problem. The beak didn't scale up well either. Sort of contrast loss - you have a lot more of that than the other resized images that have been posted.
As to the software I used this is what I get just doubling the size of the full shot. I wont be stealing it and assume you don't mind.

Don't know really as to an improvement but I added a bit of a vignette that maybe aught to be off centre and would also probably use a ramp to tone down the brighter leaves a bit if needed.
No camera data in the exif but if it was mine I would take the shot along to some printers or send it and ask for an opinion about the size you want.
John
-
-
3rd September 2016, 05:57 PM #35

- Join Date
- May 2011
- Location
- SE Michigan
- Posts
- 4,511
- Real Name
- wm c boyer
Re: Image up-sizing
As I mentioned, this is a merged image...I followed this bird wading down the creek until it disappeared
and took off behind some trees. He wadded and flapped along the way without consistency. No image
was as I wanted so I just made him look like I wanted him to look from six different poses.

 Helpful Posts:

 Reply With Quote
