I love contrasty images. Lets hear some tips and tricks to get more contrast in your images.
 Helpful Posts: 0
Results 1 to 17 of 17
Thread: Getting more contrast
-
18th September 2009, 01:48 PM #1

- Join Date
- Aug 2009
- Posts
- 2,342
- Real Name
- Steve
Getting more contrast
-
18th September 2009, 04:42 PM #2
Re: Getting more contrast
What I learned some years ago is by just making the A and B channel top and below a little more steep,(value change of about 10) jumps some more colourcontrast in your picture as if the haze disappears. Be carefull however. You have to change the top and bottom from the A and B channel in equal values, otherwise it will produce some "colourcast" By making bigger changes it will give more effect. You have to trie and tweek.
Last edited by Hansm; 18th September 2009 at 04:55 PM.
-
19th September 2009, 07:43 AM #3
Re: Getting more contrast
Hi Steve, Hans,
Assuming the picture is already using the full width of the histogram and doesn't need the levels tweaking to attain this..
The easiest way I have found to get sensible looking contrast is the Local Contrast Enhancement Technique using the UnSharp Mask with a smallish amount (20%) and a large radius (30 - 90px) as per Sean's tutorial
However, if this is over done in an effort to get 'really contrasty' pics, you may end up with halos around things
I assume you want the contrasty look without clipping?
Thereafter, the next place I'd suggest to go is the curves dialog and steepen the slope. (or do I mean flatten) but I'm getting out of my experience zone here
Cheers,
-
19th September 2009, 09:24 AM #4

- Join Date
- Dec 2008
- Location
- New Zealand
- Posts
- 17,660
- Real Name
- Have a guess :)
-
19th September 2009, 01:40 PM #5

- Join Date
- Aug 2009
- Posts
- 2,342
- Real Name
- Steve
-
19th September 2009, 10:35 PM #6

- Join Date
- Dec 2008
- Location
- New Zealand
- Posts
- 17,660
- Real Name
- Have a guess :)
Re: Getting more contrast
Hi Steve,
It's a technique I use a lot with images that don't already have highly saturated colours - it drives colours apart to reveal subtle colour variations.
I processed a shot for Jim some time ago - you might like to take a look to get more of an idea as to what it can do (although it wasn't a great example).
Basically, LAB colour separates luminance data from colour data, with the colour being put into two colour opponent channels - the "A" channel being magenta-green, and the "B" channel being blue/yellow.
So to do a basic LAB correction you'd need to ...
- IMAGE -> MODE -> 16 Bit
- IMAGE -> MODE -> LAB
- Add a curves layer
- Change to "A" channel (alt-click in one of the squares of the grid if only 16 grid squares are showing (this will increase it to 100) (10 x 10 grid)
- Drag the top right of the "curve" to the left one or two divisions and then drag the bottom right in by exactly the same amount.
- Repeat the above for the "B" channel.
"Job Done"
A few notes ...
- If the image has a colour-cast (even a slight one) then this technique will make it a lot worse - not to fear - just move ONE of the end points of each curve until the cast is gone (repeat for "B" channel). On the flip side, it's a great technique for fixing images with colour casts even without the colour enhancements.
- While your there, you can often enhance the image even more by putting a bend in the "L" channel curve to give regions of the image more contrast.
- You can also apply more agressive sharpening to just the "L" channel, but that's a story for another day.
Is this helpful?
-
20th September 2009, 02:26 AM #7

- Join Date
- Aug 2009
- Posts
- 2,342
- Real Name
- Steve
Re: Getting more contrast
Yes it was ...........thank you. Now all i need to do is figure it out on gimp.
Last edited by McQ; 21st September 2009 at 01:07 AM.
-
20th September 2009, 04:00 AM #8

- Join Date
- Dec 2008
- Location
- New Zealand
- Posts
- 17,660
- Real Name
- Have a guess :)
-
20th September 2009, 05:28 AM #9

- Join Date
- Aug 2009
- Posts
- 4,049
Re: Getting more contrast
People often say that my images are very contrasty, which is good because that's what I aim for.
The bad news is that there's only so much you can do in the camera. DSLRs are not brilliant at getting a huge range of contrasts. I always shoot in RAW as that gives you the best chance of pushing things in processing. Below is a shot of a tractor I took last week. The colours are quite good, but the tractor was in shade under some trees, and the contrast is not as good as it could be. I boosted the contrast slider in CS4 which is the main tool for getting extra contrast. I also used the tone curve in the CS4 RAW editor to add contrast. Having made the enhancements in RAW I then put the shot into Photoshop and boosted the colours with a Photoshop 'Velvia' filter that I have - it's part of the Actions file that I posted, and if you download it you can use it yourself in Photoshop. Here Robs Photoshop Actions
Why boost the colour? Because colour helps give shape to an image. So even though boosting the colour may not actually increase the light range, it will give the perception of more contrast where adjoining colours have been saturated more. If you look the shots below at the engine cowling at the top of the shot there is a yellow/orange band across the image. In the processed version its contrast is much stronger. This is partly due to increasing the contrast in RAW, but also to boosting the colours in Photoshop.
Have a look at these dereliction shots on my site, which have all had this treatment. They are 'rich' looking and have good contrast, but at the same time no part of the shots have blown highlights, or areas that are too dark. When shooting, try to avoid extreme bright/dark areas - you can always selectively boost them in RAW/Photoshop. http://www.carregwenimages.com/section135630_59231.html
This is as it came out of the camera (RAW file)

And this is after processing.

-
20th September 2009, 11:08 AM #10

- Join Date
- Aug 2009
- Posts
- 2,342
- Real Name
- Steve
Re: Getting more contrast
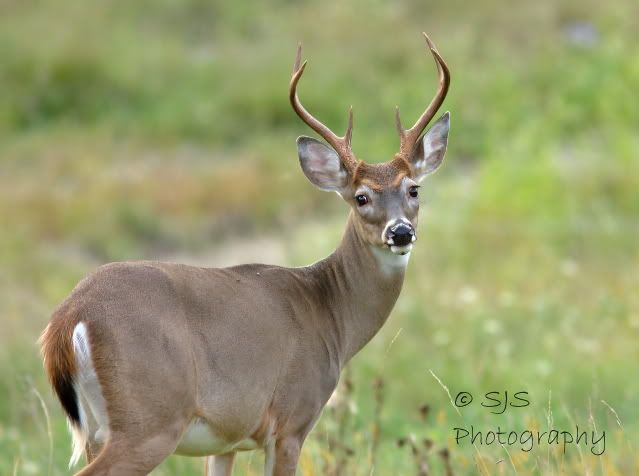
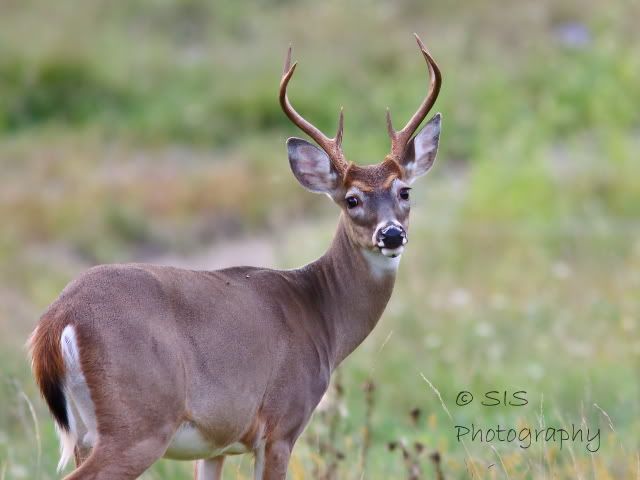
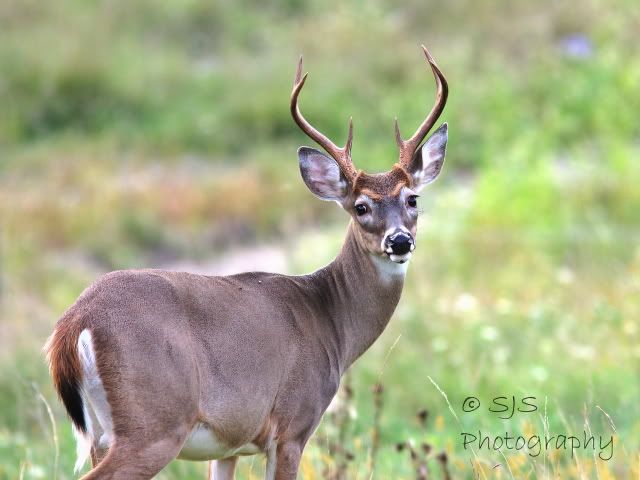
Here is a sample pic i edited
First is my old edit---woops i may have had the wb a little warmer on this one

Second is with colin's sugestions--deffinately more color contrast.

Third is tweeking all 3 LAB channels...........a little too much i think and seems to add a little noise to the background. I like the way it brightened it up though. Must play some more and see what i can do

This was edited with Gimp and UFRaw---free software, very similar to photoshop. The only downside is gimp only supports an eight bit color file at the moment. It is suposed to change over to 16 bit in the near future.
The actions in gimp were colors - components - decompose (click on LAB) - OK and your 3 lab channels will come up. Steepened the curves by one block top and bottom and then did the same action and hit recompose.
Because of gimps 8 bit color file, i sharpen with EDGE DETECT in a layer mask. You really have total control on what gets sharpened.
Dup layer- add layer mask(grayscale)-view layer mask-filters-edge detect-edge-set at 3.2 for most photos - -------------next i go to curves and bend the top right up like your making an s curve and slide the bottom left straight over on the bottom to steepen the curve (this will get rid of most or all of the background noise--what ever is left over erase it with black brush)--Your mask will now look like all the white outlines of the photo, with nothing in the background. If there is anything that you want sharpened and was left out, just paint it in with white ( i often do the eyes on animals).---Go to filters---gaussian blur--set around 8 to 12 , just depends on how dark the white lines are---click off mask and on layer---filters-unsharp mask( i set to rad. 1.0 and crank it up to 350) hit ok.....adjust amount with opacity slider. Edge sharpening really adds alot of contrast to an image, and you don't sharpen any noise leaving a much cleaner image.
After i'm done, i add a small amount of overall sharpening with an unsharp mask.
I hope this helps.
Thanks everyone that responded, I really appreciate the info. It will help alot.
-
20th September 2009, 10:12 PM #11

- Join Date
- Dec 2008
- Location
- New Zealand
- Posts
- 17,660
- Real Name
- Have a guess :)
Re: Getting more contrast
Hi Steve,
Good to see that you've had a play with it, but these aren't really the types of images that you'd normally use this technique on -- it works best where there are subtle colour variations that your trying to differentiate, whereas in shots like yours your probably aiming more towards photorealism (sorry, but I think the first one looks the best ).
).
-
21st September 2009, 11:03 AM #12

- Join Date
- Aug 2009
- Posts
- 2,342
- Real Name
- Steve
-
21st September 2009, 11:28 AM #13

- Join Date
- Dec 2008
- Location
- New Zealand
- Posts
- 17,660
- Real Name
- Have a guess :)
Re: Getting more contrast
I'm not sure how much difference that would make to be honest; 8 bit colour allows for 256 different levels per channel, of which the human eye can only differentiate around 200 anyway, so it's certainly possible to display the result, although I certainly wouldn't want to be doing heavy editing with only 8 bits

-
21st September 2009, 11:31 AM #14

- Join Date
- Dec 2008
- Location
- New Zealand
- Posts
- 17,660
- Real Name
- Have a guess :)
Re: Getting more contrast
PS: Steve, are you working from a profiled and calibrated display? Reason I ask is that I've just installed a new monitor on my home PC which I haven't setup properly yet, and your 3 images are looking vastly different (better) than when I viewed them on my work (profiled and calibrated) screen.
-
21st September 2009, 03:05 PM #15

- Join Date
- Aug 2009
- Location
- Lady Lake, FL & Murphy, NC
- Posts
- 48
Re: Getting more contrast
Why boost the colour? Because colour helps give shape to an image.
I have been using Lightroom for a while now and found that separating mid tone colors to give more contrast can be done simply by moving the "vibrance" slider. Then, if there is too much color, just reduce the saturation a tad.
Also have found that with Lightroom that I rarely go to Photoshop CS3. Not only that, but I am now off the Adobe $$$$ Photoshop upgrade path because Lightroom can edit a picture from my Canon 50d and then convert to TIF which is read by CS3. So no need to purchase CS4.
-
21st September 2009, 04:24 PM #16

- Join Date
- Aug 2009
- Posts
- 4,049
Re: Getting more contrast
Yes, the vibrance slider does give a boost to colour contrast as it increases saturation in a more subtle way than the saturation slider. I tend not to do much in CS4 apart from final sharpening and tidying any dust marks etc or cloning out unwanted minor items. I do noise reduction in CS4, rather than RAW.
-
22nd September 2009, 01:12 PM #17

- Join Date
- Aug 2009
- Posts
- 2,342
- Real Name
- Steve
Re: Getting more contrast
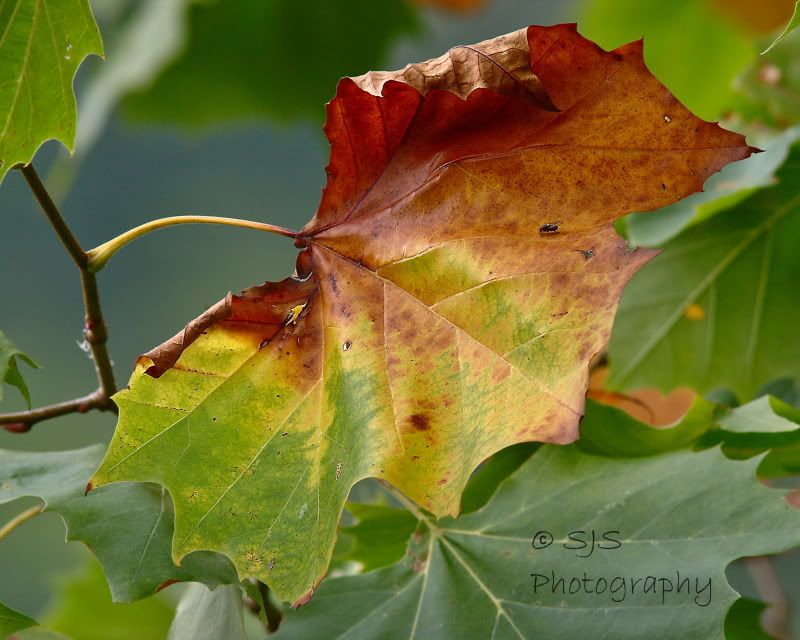
Any more tricks to get more contrast in an image??
Here is one i did a while ago using saturation and sharpening to bring out some more contrast. I made a layer mask set to black and painted in some saturation and sharpness on only the leaf in the forground .

I know there has to be other ways..............................lets hear them.....spit it out


 Reply With Quote

