Results 1 to 13 of 13
Thread: DIY Photo Studio Softbox!
-
31st March 2014, 12:08 AM #1

- Join Date
- Mar 2014
- Location
- Malta
- Posts
- 10
- Real Name
- Matthew Vella
DIY Photo Studio Softbox!
-
31st March 2014, 04:09 AM #2
Re: DIY Photo Studio Softbox!
Mathew, I may be wrong but, I suspect that we are talking about a light tent:
http://www.ebay.com/itm/Photo-Studio...item2a3665f6e6
Which doesn't actually need to be a tent (as the above Illustrates) but can be a tent as the below illustrates:
http://www.ebay.com/itm/24-Photo-Pho...item3a899ad927
This is also called by some, a light cube...
A softbox is a specific type of light modifier:
http://www.ebay.com/itm/16-X24-Photo...item3a8231ae41
-
31st March 2014, 08:57 AM #3

- Join Date
- Mar 2014
- Location
- Malta
- Posts
- 10
- Real Name
- Matthew Vella
Re: DIY Photo Studio Softbox!
Actually I was confused what to exactly call my diy project! As you said, it's more likely to be called a 'light cube'!

Thanks a lot for your intervention! Helped me to clarify the concept of 'softbox'
-
31st March 2014, 10:24 AM #4
Re: DIY Photo Studio Softbox!
Hi Mathew,
It seems to have worked well, is there anything you are not happy about with the results?
How about a picture of the unit?
Grahame
-
31st March 2014, 11:22 AM #5

- Join Date
- May 2011
- Location
- SE Michigan
- Posts
- 4,511
- Real Name
- wm c boyer
Re: DIY Photo Studio Softbox!
I recently read this...http://digital-photography-school.co...rsus-kit-tents
with the difference being the diffusion material that was used.
-
1st April 2014, 10:03 AM #6

- Join Date
- May 2012
- Location
- northern Virginia suburb of Washington, DC
- Posts
- 19,064
Re: DIY Photo Studio Softbox!
This is one heck of a softbox.
Last edited by Mike Buckley; 1st April 2014 at 10:18 AM.
-
1st April 2014, 07:30 PM #7

- Join Date
- Mar 2014
- Location
- Malta
- Posts
- 10
- Real Name
- Matthew Vella
-
1st April 2014, 08:09 PM #8
Re: DIY Photo Studio Softbox!
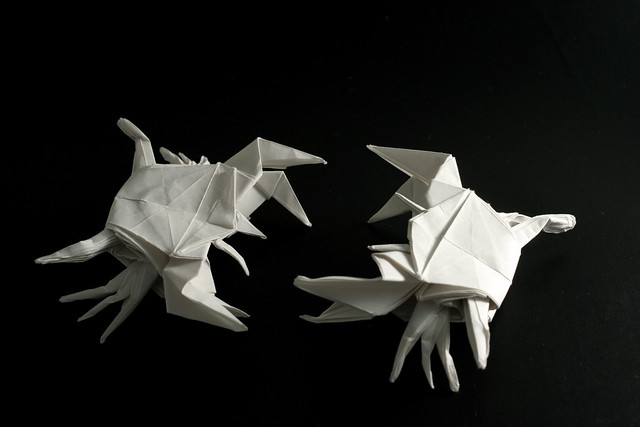
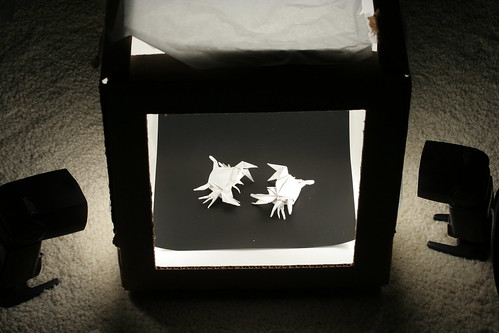
Nice construction! However, you'll also want translucency on the sides and movable light sources (preferably with more light output and control of same) so you can light from more directions with more control. I had a DIY cardboard-box light tent, using tracing paper for the lighting surfaces, but I used two off-camera flashes:


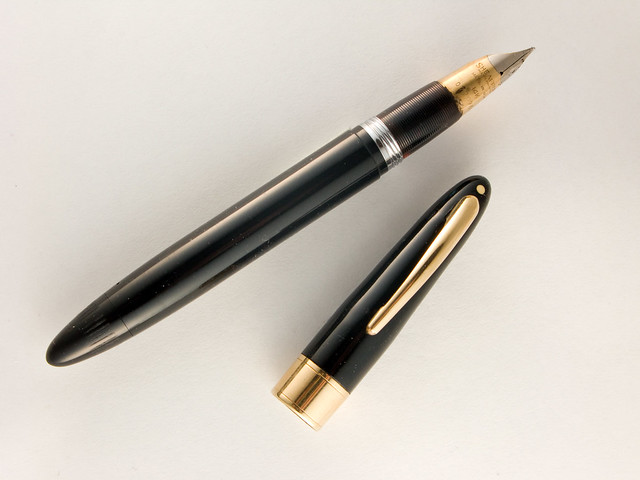
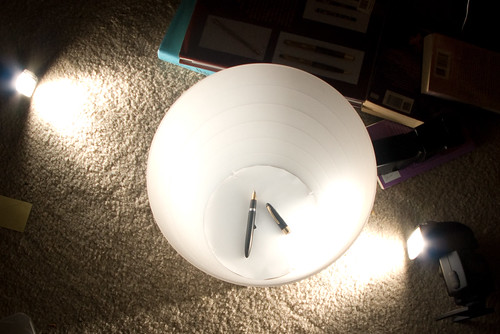
My box wasn't built particularly well, though, and I'm cheap/lazy so eventually I just went to using translucent plastic Ikea trash cans and recycling bins:


Less fragile, easier to setup and/or replace. So, you may want to consider buying some off-camera flash gear, and roaming the aisles of Ikea with a lighting gear eye, if this type of shooting is a favorite subject for you.
Today, though, I'll more typically set up with off-camera flashes on stands, softboxes, and umbrellas to do this type of shooting, because I like having the additional elbow room: space gets cramped inside a light tent.
-
2nd April 2014, 03:30 AM #9
Re: DIY Photo Studio Softbox!
Here are some interesting videos on DIY studio shooting...
http://www.prophotolife.com/video-library/
-
3rd April 2014, 09:05 AM #10

- Join Date
- Apr 2012
- Location
- Dunedin New Zealand
- Posts
- 2,697
- Real Name
- J stands for John
Re: DIY Photo Studio Softbox!
You have got to first base and very nicely done but the advantage of Kathy's suggestion is that by having the light from outside the tent/box is that you can organise shadows which show the shape of the object such as a fork or similar metal object.
While I know what to do if I needed to do it I have not had the need as yet and the nearest I got was with my white plastic bucket which gives a very soft 'all around' light which is what you have achieved. Unfortunately my experiements were done in soft lighting from windows all around me which resulted in considerable editing to bring up the contrast to an acceptable level.
Unless you have a large number of similar products to photograph I have never viewed the 'light boxes' or 'light-tents' with approval as it is relatively easy to organise difusion material like a tent over the subject and with lights outside you have the opportunity to organise flags and so forth for creative lighting. A book I think demostrates this very well is LIGHT Science and Magic by Fil Hunter and Paul Fuqua. I got mine from Amazon secondhand and found it was written for film but more recent editions relate to digital I believe though most of the book relates to Light and the control of it for the effect required.
-
3rd April 2014, 07:02 PM #11
-
3rd April 2014, 07:27 PM #12
Re: DIY Photo Studio Softbox!
I go for ease of setup.
http://www.amazon.com/CowboyStudio-3.../dp/B001TKCZVM
There are youtube videos circulating that state DIY for $5.00.
-
8th April 2014, 10:17 AM #13

- Join Date
- Apr 2012
- Location
- Dunedin New Zealand
- Posts
- 2,697
- Real Name
- J stands for John
Re: DIY Photo Studio Softbox!
Another photo which can do with some added contrast in the Bath Foam shot where the transparent caps merge into the background and I note they are placed on the left third which I do not think appropriate as this is not 'art' but 'record' photography and basically you are taking a 'mug shot' of the containers ..[edit ... unless the 'art director' wanted space for some text or something beside them
 ]
]

That was done with the curves tool following reading what Richard wrote but earlier I selected out the bottles, darkened them and then lightened the background for a similar but slighly different result

 Helpful Posts:


 Reply With Quote


