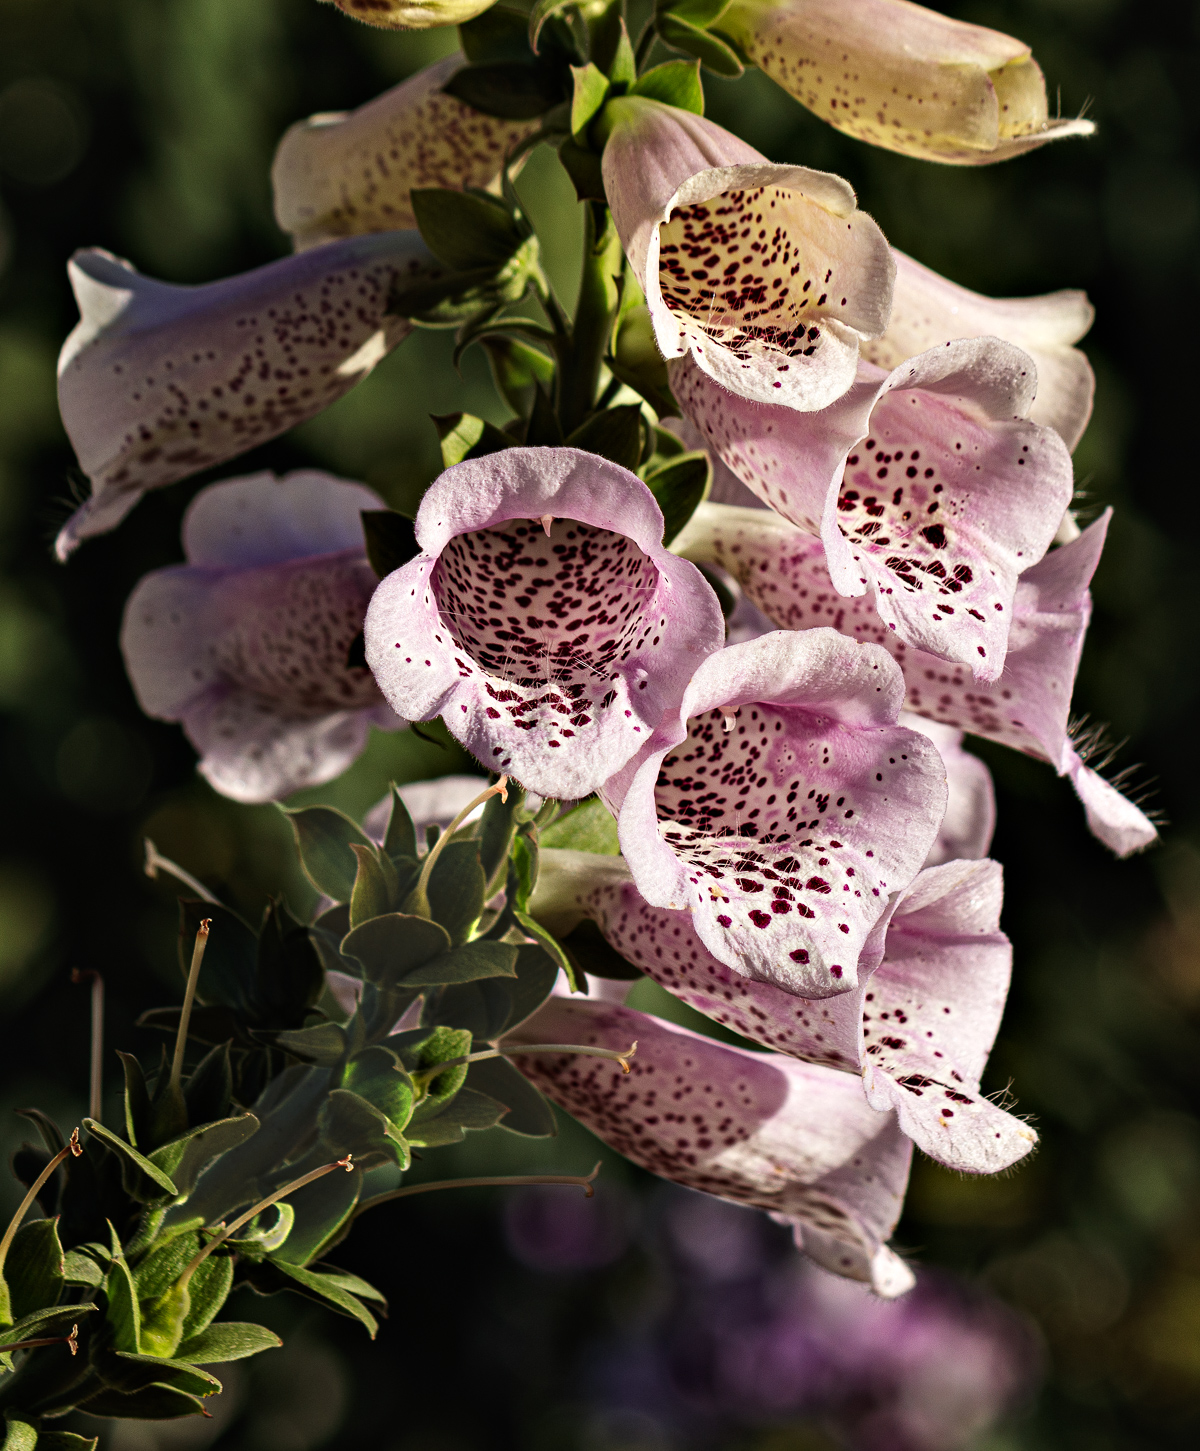
I am having difficulties lately creating photos that I am satisfied with. It isn't that I don't see inspiring things but rather that I can't translate what I see into a matching photo. Case in point; this photo of foxglove in my garden.
It could be that I am overly critical of my work but in any case I would appreciate suggestions on how it could have been taken and processed to go from an OK picture to a good one.
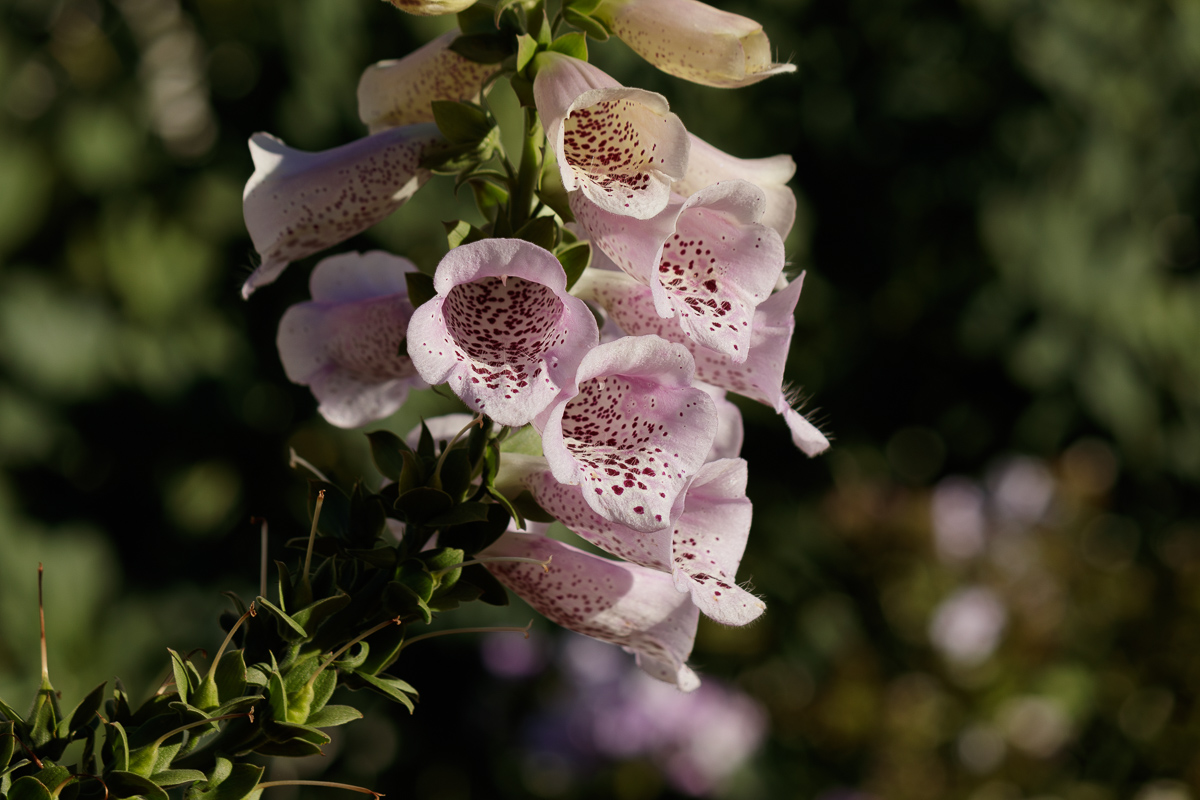
Here is the SOOC that I started with.
Results 1 to 12 of 12
Thread: Foxglove
-
22nd September 2020, 02:36 PM #1
Foxglove
Last edited by Round Tuit; 23rd September 2020 at 02:47 PM.
-
22nd September 2020, 03:08 PM #2

- Join Date
- Dec 2011
- Location
- Cobourg, Ontario, Canada
- Posts
- 2,509
- Real Name
- Allan Short
Re: Foxglove
Sometimes what I do, I have a speedlight on a cable that I hold off to one side just to add a little kiss of light to the shadow area.
Cheers: Al
-
22nd September 2020, 04:14 PM #3
Re: Foxglove
There are probably many ways to take this photo. What makes it successful maybe due to two things: what was it about the situation that appealed to you, and does what appeals to you appeal to other viewers. I tend to like detail so might take this photo and crop it and deal with the interior shadows through post-processing. . Can you define what it was that you wanted to capture? Not just the foxglove, but what about the foxglove interested you?
-
22nd September 2020, 04:46 PM #4

- Join Date
- Feb 2012
- Location
- Texas
- Posts
- 6,956
- Real Name
- Ted
Re: Foxglove
A difficult subject, being tall with many flowers. See various images here including a drawing and a botanical sketch. Not saying any of them are outstanding compositions.
With the foxglove it seems that there are perhaps four contents to consider: grouped; whole plant; some flowers; some flowers really close. See the triptych halfway down here.
Perhaps nicer with a background of other flowers or foliage and a wall that implies "garden":

Although I might have blurred the other flowers more, upped the whole foxglove's saturation and upped it's micro-contrast while reducing those of the entire background ...
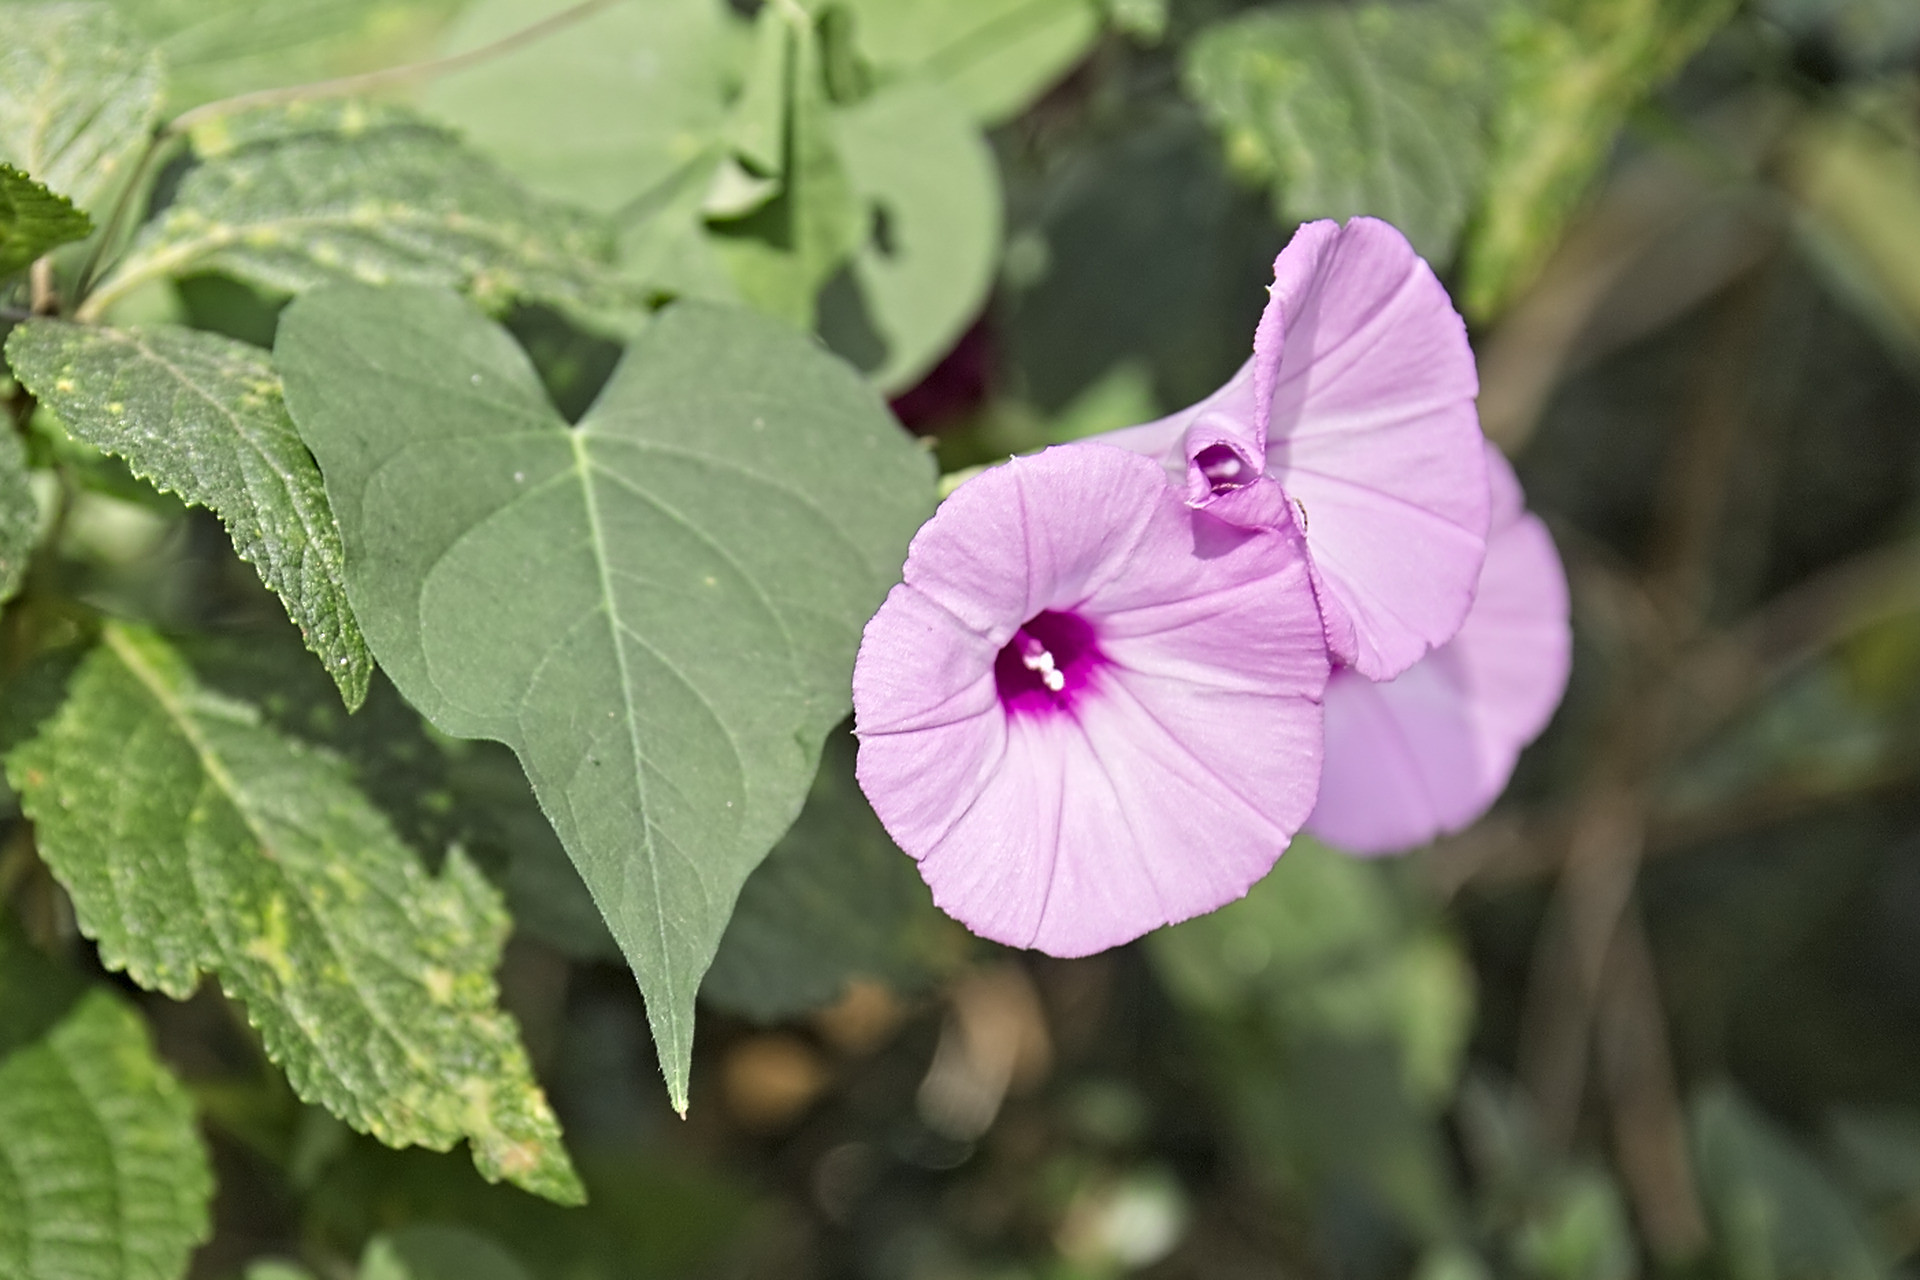
I have a similar problem with purple bindweed:

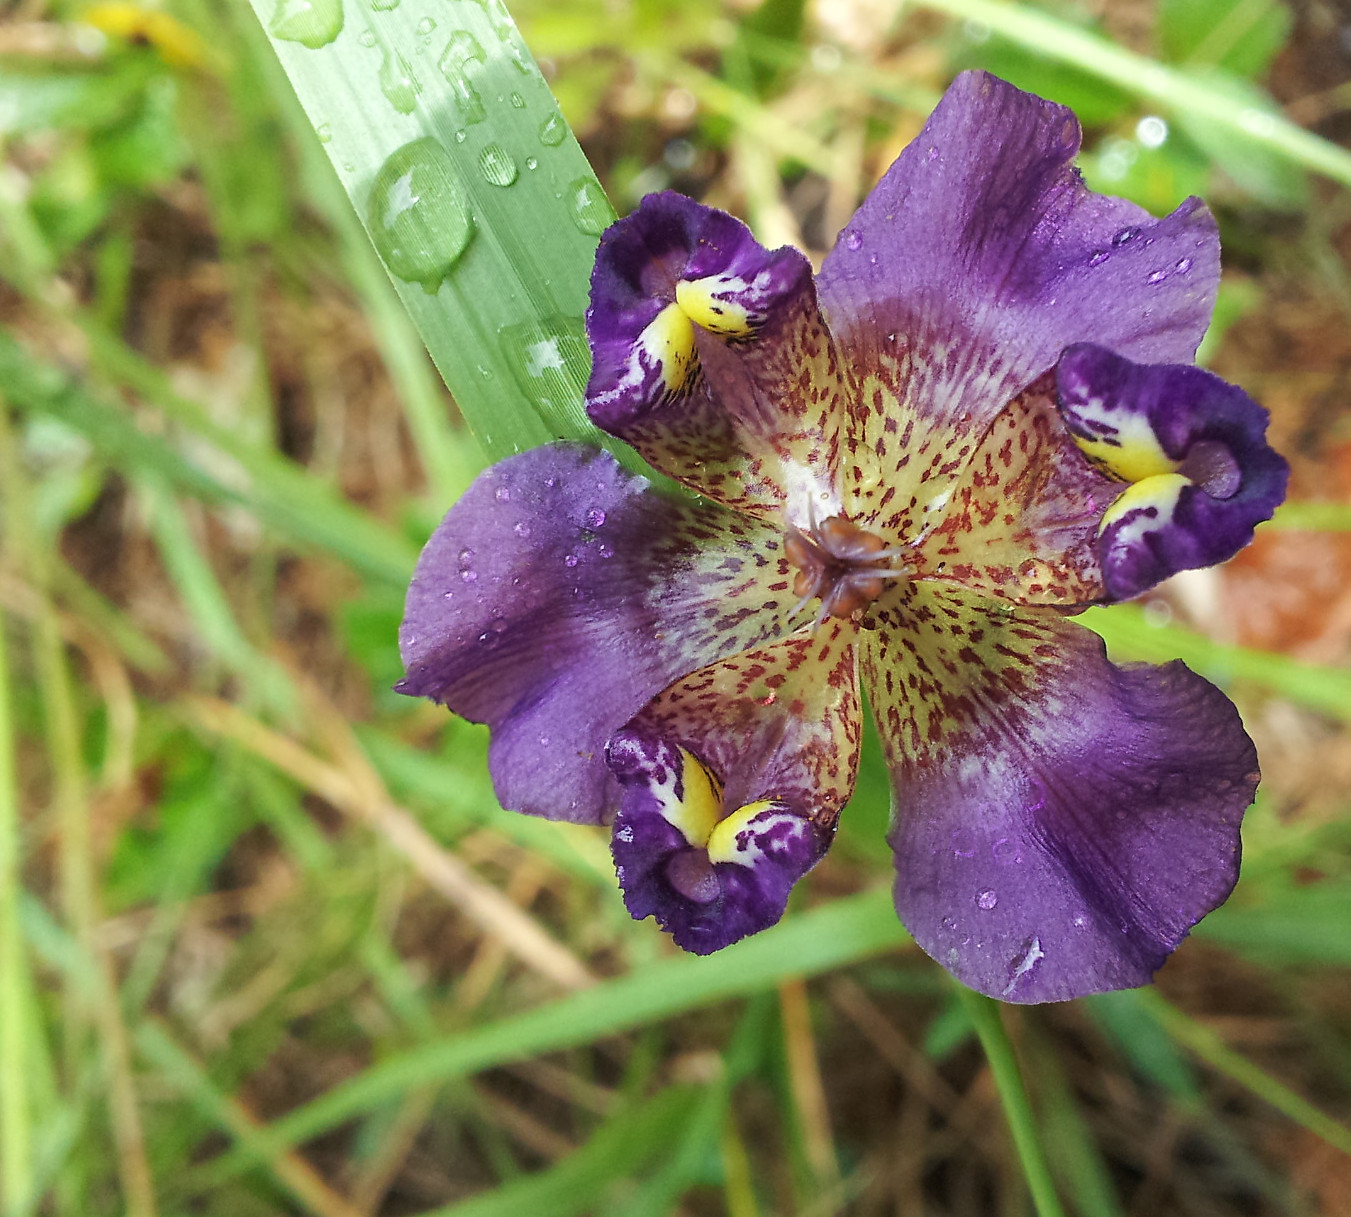
Not so with single flowers:

Some links:
https://digital-photography-school.c...r-photography/
https://photographylife.com/the-art-...aphing-flowers
https://www.photographytalk.com/212-...er-photography
https://www.pictorem.com/9730/Botani...osition)..html
I wonder about a shot from the top -focus-stacked and merged ...Last edited by xpatUSA; 22nd September 2020 at 04:53 PM.
-
22nd September 2020, 05:33 PM #5

- Join Date
- Jan 2009
- Location
- South Devon, UK
- Posts
- 14,648
Re: Foxglove
Flower portraits are a difficult subject, Andre and I always find foxgloves difficult.
As previously mentioned, the best options are usually to go for the whole flower or to crop tight to specific areas. In which case, I would try cropping out a bit from the left side, top and bottom, to concentrate on that group in the bottom right corner.
-
23rd September 2020, 02:49 PM #6
-
23rd September 2020, 03:11 PM #7
Re: Foxglove
Hi Judith,
You are absolutely right. A little more thought about what I wanted to capture would have pointed the way to a "better" shot. I was trying to capture the morning light on the cluster of flowers. Had I moved slightly to the right and turned the camera ccw, I could have gotten a better balanced picture rather than have all the action on the right side.
Making pictures appeal to other viewers is something beyond my control. All I can do is make them appeal to me and if others like them, so much the better.
-
23rd September 2020, 03:19 PM #8
Re: Foxglove
Thank you Ted,
I haven't read all the reference material that you provided but I will.
Flowers is mostly what I do and I agree that some are more difficult than others. I find it easier when I can bring them inside where I can control the light and the background and avoid the wind.
I like the three pictures you posted in your reply. The flower that you call purple bindweed we call Morning Glory; and it is difficult to capture.
-
23rd September 2020, 03:21 PM #9
Re: Foxglove
I find images like this very tough because it is hard to isolate a subject.
I may be guessing wrong, but it looks to me that you were in open sunlight (rarely good) and that your intent in postprocessing was to bring out detail (which would have been my goal). The problem this poses is that some of the tools that bring out detail also will exacerbate the harsh highlights. This seems to be the case in your top photo.
So I think I would look for tools that will bring out detail without doing this and also for ways to offset any unwanted effect of this sort. I'd have to experiment, but for the first set I would look at local contrast tools: texture and possibly clarity in Lightroom or ACR, and unsharp mask with a very large radius in photoshop. I'd go lightly on clarity because it also includes a boost in midtone contrast. Some of the contrast tools in Nik Color Efex might also be useful for this.
In photoshop, you could also try applying midtone contrast on colors only using a curve set to the color blend mode.
The next step for me would be local adjustments--a lot of dodging and burning and possibly some local adjustments to other things, like midtone contrast.
Finally, sharpening is an issue. I might play with a few approaches and compare them. Most often I compare a high-pass filter to smart sharpen. If you do high-pass, you might want to do it as a smart filter initially and only rasterize that layer when you are satisfied because the smart filter will allow you to go back and change the radius setting. You can change the opacity to vary the amount of sharpening regardless.
-
23rd September 2020, 03:21 PM #10
-
24th September 2020, 01:30 PM #11
Re: Foxglove
Thanks Dan,
We must have been typing at the same time!
You gave me lots of food for thought. You guessed right, I took the picture in full sun about 1 hour after sunrise. I tend to stick to USM for both texture and sharpening although I also find the Texture slider in Lightroom quite useful. I must admit that it never occurred to me to use the colour blending mode with a curve adjustment layer. I will experiment with that approach.
By the time I had 7 adjustment layers I gave up on local dodging and burning because I realised that the problem was with the basic composition and that no amount of dodging and burning would fix that. As I mentioned to Judith, I now think that a slightly different point of view as well as softer light would go a long way towards creating a better picture.
-
24th September 2020, 02:10 PM #12

- Join Date
- Feb 2012
- Location
- Texas
- Posts
- 6,956
- Real Name
- Ted
Re: Foxglove
With some subjects, I find that Wavelet Processing can produce good results especially on my monitor with my poor eyesight:
http://rawpedia.rawtherapee.com/Wave...re_Wavelets.3F et subs.
Processed in Wavelets using contrast only. A bit OTT for illustrative purposes:

Last edited by xpatUSA; 24th September 2020 at 03:18 PM.

 Helpful Posts:


 Reply With Quote

